Colorful Fall Leaves Needle Felting Tutorial

felt colorful fall leaves

This tutorial will walk you step by step through the very easy task of needle felting colorful fall leaves.  I’m going to make a decorative fall bunting with the leaves that I make this season.  However, they would also combine to make a lovely autumn wreath and one could dangle near a window as a neverending falling leaf.  I’m sure there are many other beautiful options, but I will leave the rest of the brainstorming to you.

Let’s begin the tutorial.

You will need:

wool roving/batting in autumn shades
a foam surface or needle felting brush
felting needles(a felting pen is handy but not necessary.)

First, gather some leaf templates.  These could be hand drawn and cut, they could be traced from leaves collected in your yard, they could be fall cookie cutters lying around in the kitchen or, if you are lazy like me, just google search “fall leaf template”.

Templates for Leaves

I will be using the elm leaf to demonstrate this method.  It is the easiest template that I have.  So it should be easy to follow along!  I realize that the template may not be necessary for such a simple leaf design, but while creating a maple or oak leaf the importance of this template system becomes clear!

Set the hollow template atop the working surface(brush or foam), then pull small tufts of wool and place inside the leaf template.  Keep on layering these little tufts; it takes a bit more than you would think! Then needle felt  inside the template with a large felting needle(around a 36).  Continue felting until the little tufts of wool become one mass.

How to needle felt an autumn leaf

Now the template is no longer necessary; remove it from the foam surface.  Now carefully peel the leaf off of the working surface.  Held up to the light, the weak spots will shine through.  Add small tufts to the weak areas and needle felt with the same size(36) needle until a uniform thickness is achieved.

Felt Colorful Autumn Leaves

How to felt leaf decorations.

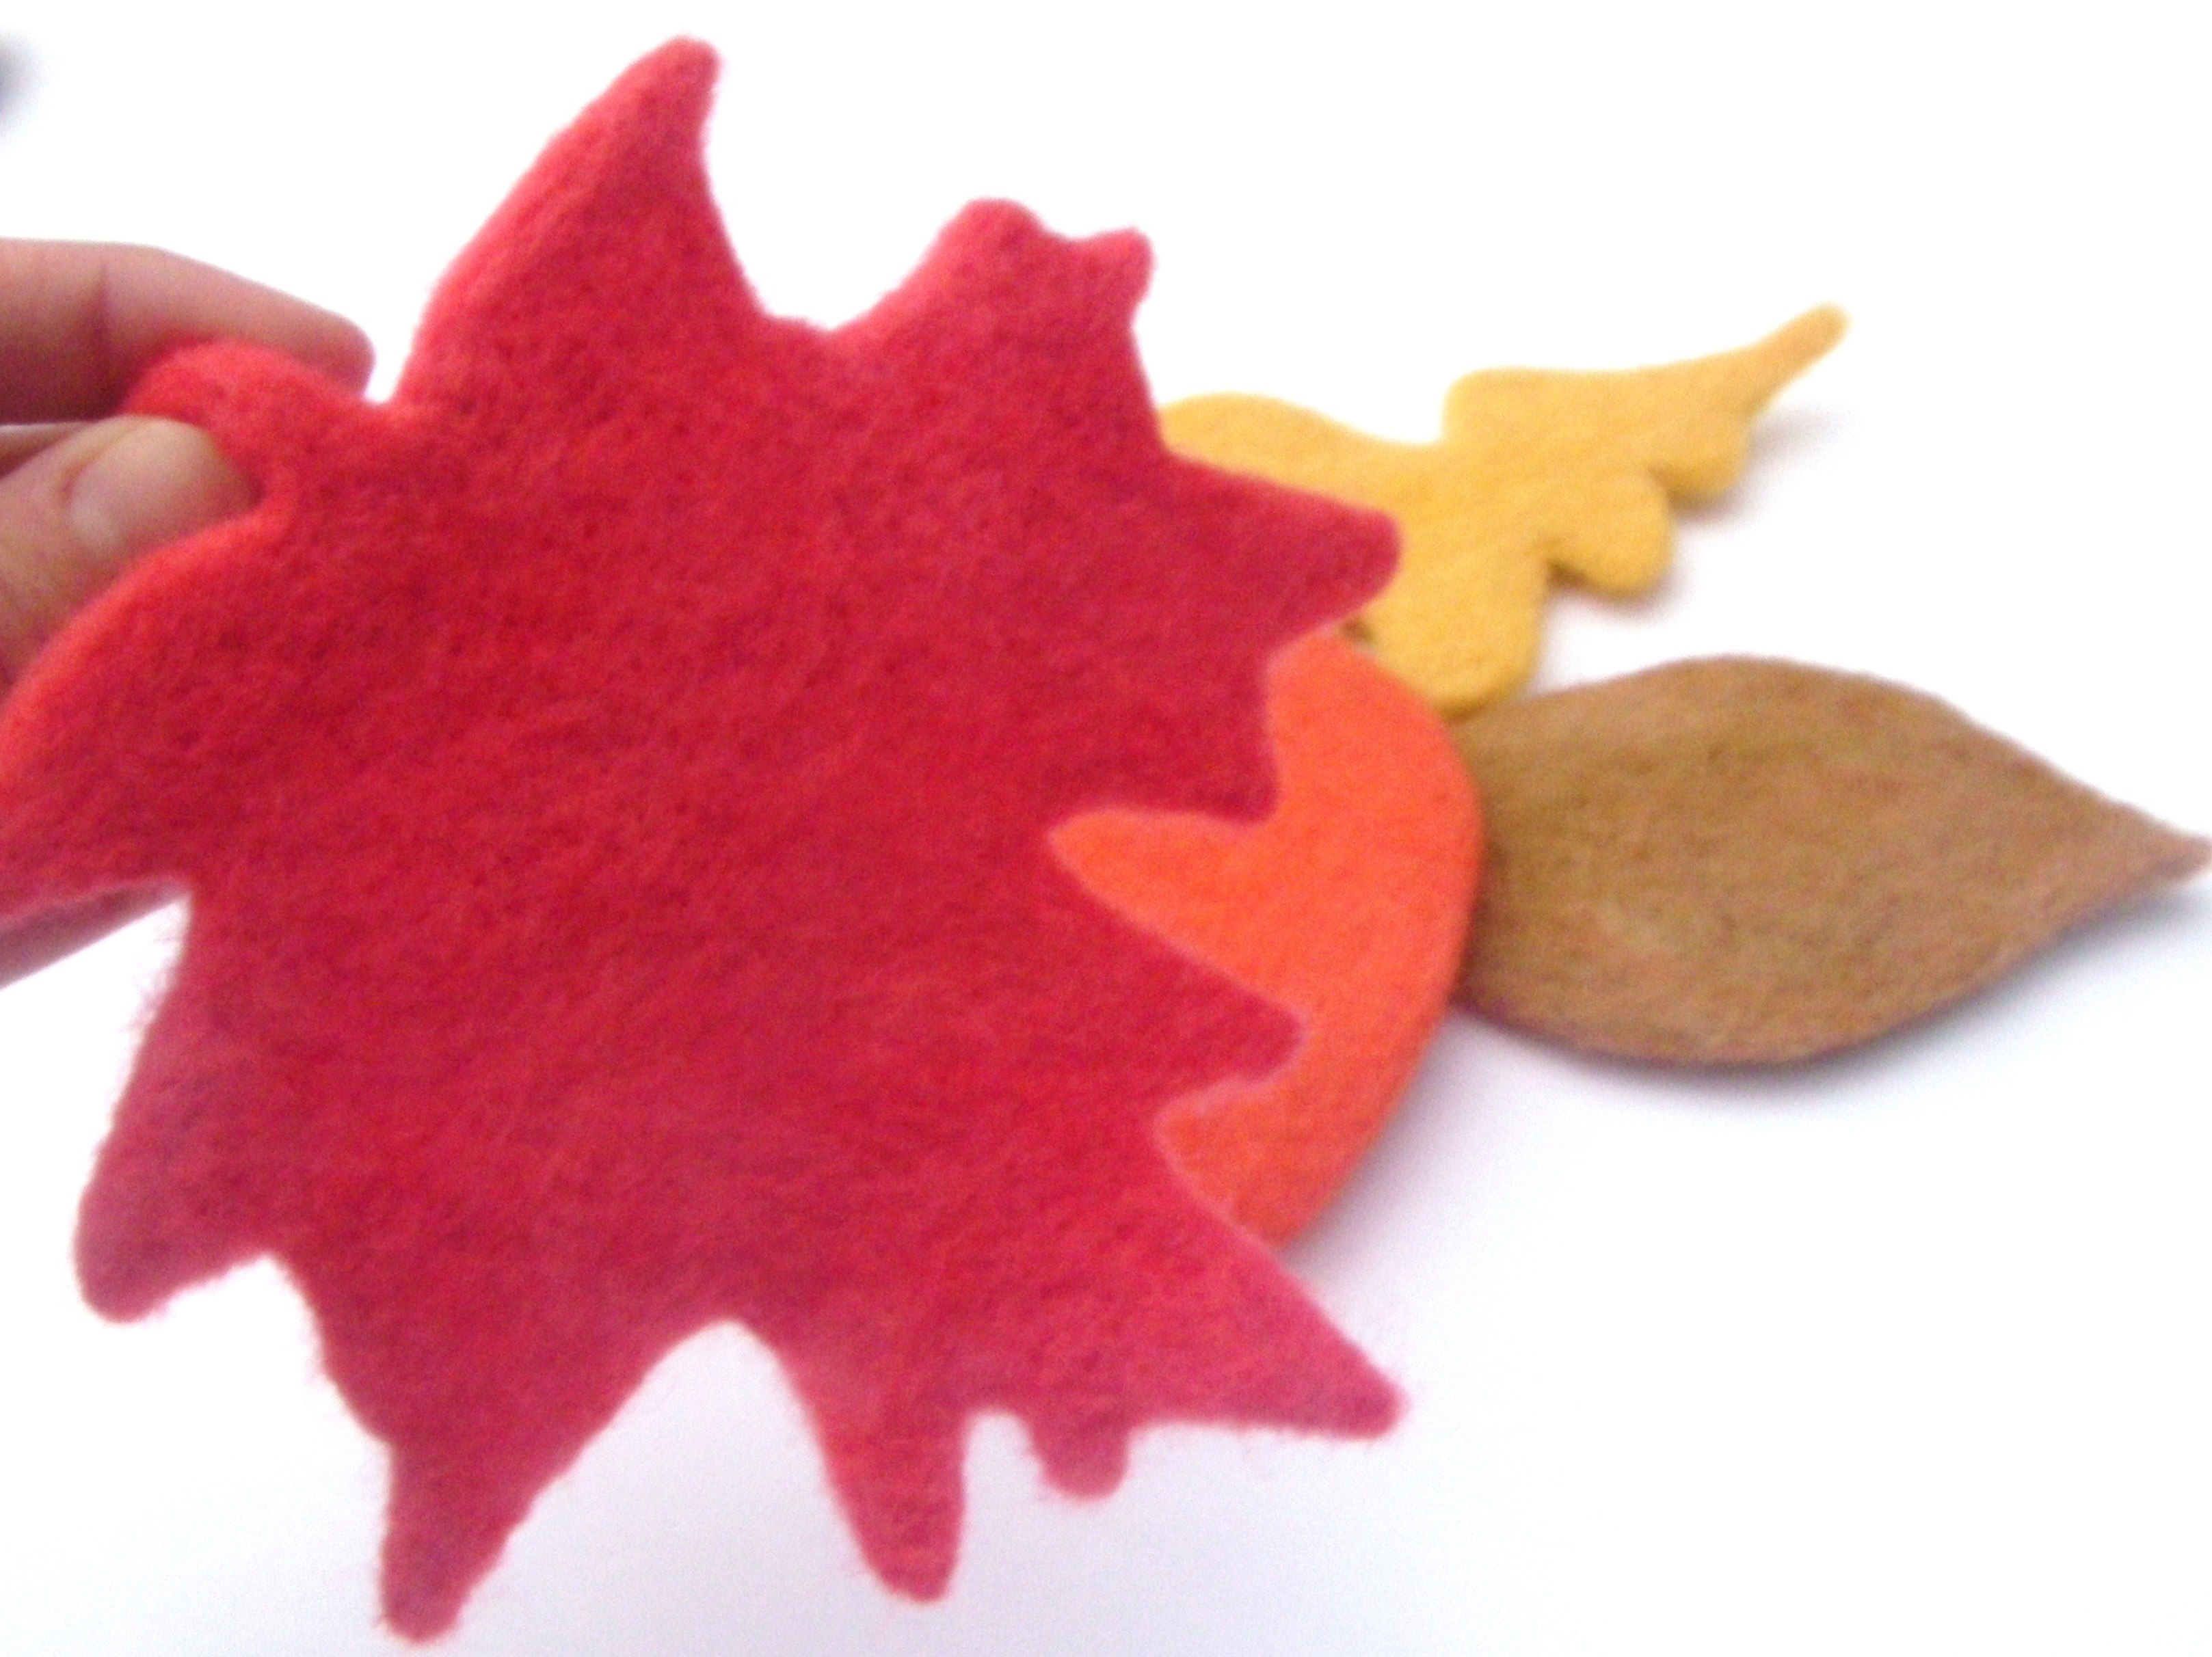
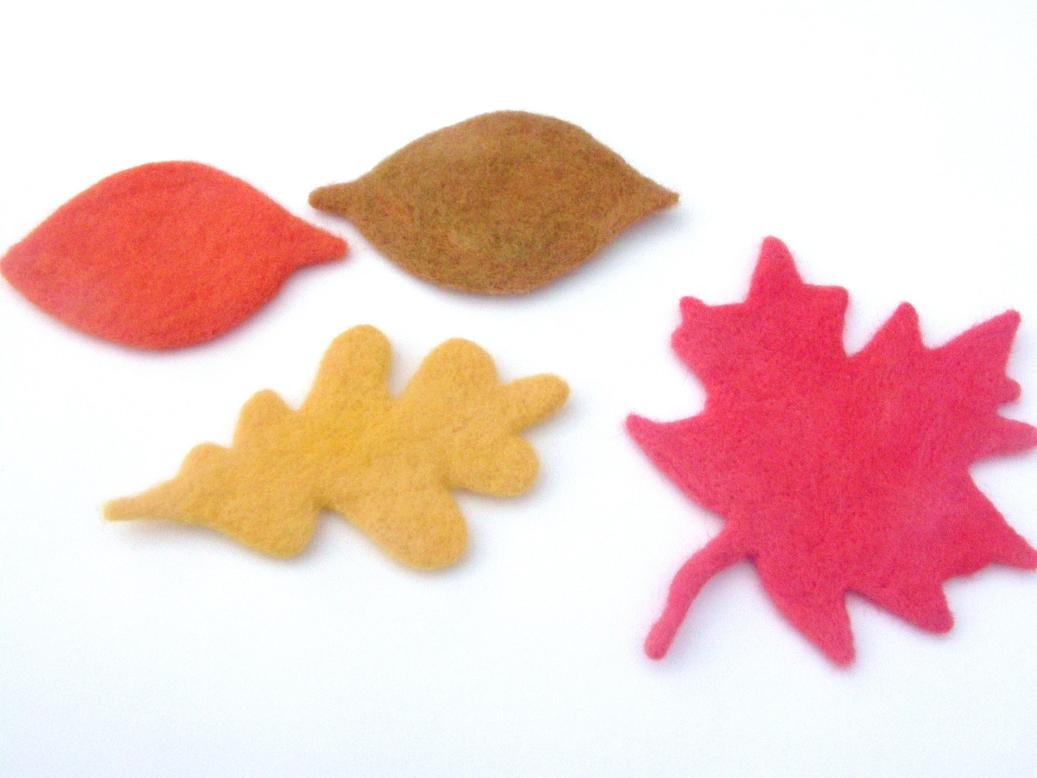
The edges of the leaf are now raggedy and incomplete.  Compare the leaf I’m working on to my previously completed orange leaf.  At this point, carefully work the edges until they are firm and curve similarly to the chosen template.

needle felting colorul autumn leaves

Now the leaf has the correct shape but the fibers of the wool can still be compressed a bit more.  Grab a smaller size needle(38), lay a bit of paper between the working surface and the leaf, and needle felt one side, then flip it and needle felt the opposite side.

How to Felt Autumn Leaves

At this point the leaf is basically complete.  I chose to grab an even smaller needle and really make it neat.

needle felted autumn foliage

Each leaf will take between 25 minutes to 1 hour depending upon the complexity of the leaf shape chosen.  Good luck with this project and if you have any questions or comments feel free to contact me!

felt fall leaves

Felted Fall Leaves

felted fall leaves

I’m finally able to designate time to my beloved craft of needle felting.  My children started school, then my camera was misbehaving, and to top it all off, a nasty bug followed the kids home from school.  Finally, all is well and I can get back to  fun creative projects.  So this week, I have been busy preparing for the felting madness to come.  I pulled out my trusty food colors and started to create my palette of vivid, beautiful wool.  I love the dying process. You never quite know what color will take, and the results are a happy surprise each time!

My Food Coloring Collection

I have started a new project as well . . . Felted Autumn Leaves.  I’m so excited that Fall has arrived, my favorite season.  Leaves just scream Autumn. . . the colorful spectacle in every forest and neighborhood, the crunching noise under your boots, quietly spinning in the wind, and giggling children jumping in a large pile.  A tutorial on these leaves will be available in the near future!  I’m looking forward to sharing my autumn creations with everyone.

Felt Leaf Decorations for Fall

tutorial on felting leaves

24 Carrot Gold Tutorial on Felting Leaves

This felting tutorial is all about taking a flat felted rectangle of felt and cutting useful shapes out of it. I will be using the carrot top of my adorably animated carrot to demonstrate the usefulness of this technique.

happy play food carrot

I needed a handful of felted leaves to sit atop my carrot and while I had needle felted leaves before, they were basic oblong leaves. I had never needle felted intricate leaves with the stem included. I needed a leaf that was a little wavy on the edges and with a stem sturdy enough to make the leaves stand up rather than flop over(the way an apple leaf does).

I decided I would needle felt the leaf with stem included. What I did first was felt a small(1.5 in by 2 in) flat rectangle. Being it was such a small piece I needle felted it flat rather than wet felting it. I find the Clover brush works very well for small flat needle felted pieces.

how to cut flat needle felted pieces

Next I drew up a few leaf templates. Carrot leaves are very lacy; I simply alluded to a carrot leaf with a few wavy bits on my templates. Next I cut out my paper templates and pinned them to my flat felt rectangle.

cutting leaves out of felt

Then I cut around the paper leaf templates. This is what I got.

leaves cut out of felted wool

The problem with cutting felted pieces is that the edges become weak and vulnerable. Plus they appear unfinished. Yes you can needle felt the edges a bit, but they would still be the first to develop unwanted loose wooly bits in the future. My solution was to blanket stitch around the whole cut felted leaf and stem with some matching green embroidery thread. This would reinforce the edges. Also while blanket stitching I pulled my stitch rather tight to help achieve the wavy edges I was wanting.

Here is my carrot with the flat felted, cut, blanket stitched leafy top. The felted stem is stiff enough that the leaves don’t flop all the way over. I think it is super cute.

handmade needle felted carrot play food

And if that isn’t cute enough, I added an animated little face to my needle felt carrot toy. If you are interested in how I needle felt my adorable faces just check out my tutorial.

needle felt carrot with face

I hope that this tutorial helped you with your needle felting projects or gave you some insight into future project possibilities. Feel free to share your felted creations with me; I love to see how individuals can use the same tools and materials and create a truly unique item. And if  you need more needle felting help or ideas, check out my other felting tutorials!